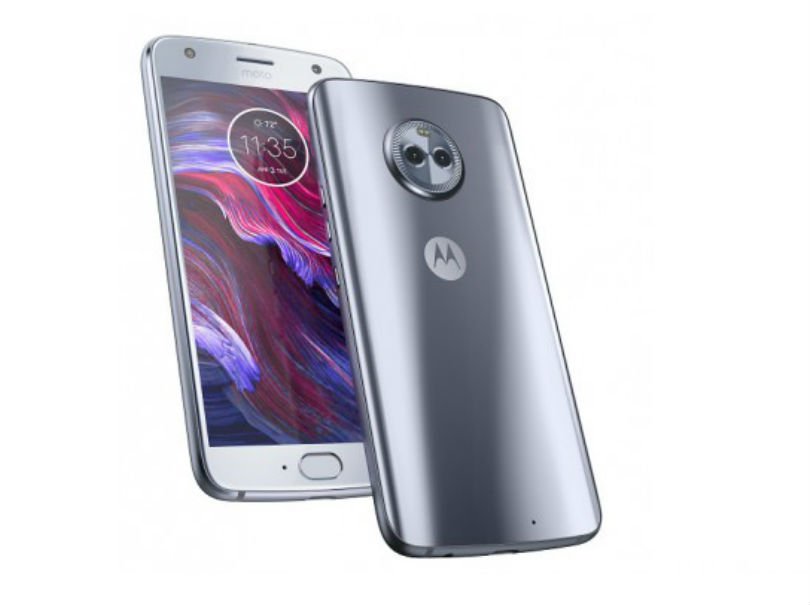
Manually Install Official Oreo Update On Moto X4

Android 8.0 Oreo update for Moto X4 has been released a few days back for both Moto X4 Android One and Standard Moto X4. If you own one of them but you haven’t received the Oreo OTA on your device don’t worry, in this guide we have mentioned the process to download stock Oreo update for Moto X4 and install it manually on your device.
This new Oreo update is available as build PAYTON_OPW27.57-40, which once installed on your device brings goodies of Android 8.0 Oreo along bunch of new features. The most famous Oreo features including, Picture In Picture mode, Adaptive icons, Autofill, Notification timeout, New Emojis, and December security patch. There is not much UI difference in Nougat Android 7.1.2 and Android 8.0 Oreo.
How to manually Install Official Oreo Update On Moto X4
Before you begin:
Set up adb and fastboot drivers on your PC (required for doing the flashing work later). Follow this quickest method to install them on PC.
Also upgrade the USB drivers for Motorola on PC. You can get them here.
Create a secure backup of your device data.
Charge your device to 70% or above to avoid shut down happening during the process.
Download the official Android 8.0 Oreo OPW27.57-40 firmware. Click here
Now extract it into a separate folder on your PC.
Process to manually Install Official Oreo Update On Moto X4
Now Turn Off your device completely.
Now boot your Moto X4 into bootloader by pressing volume down button + power button simultaneously.
This will reboot your device into fastboot/bootloader mode.
Now connect your device to your PC via USB Cable.
Open the folder where you have extracted the Stock Oreo firmware for Moto X4 and press Right Shift + Right Mouse Click in the empty space inside the folder, then choose ‘Open Command Window here’ option from the pop up.
In the command window, execute the below listed commands one after the other maintaining the same sequence.
fastboot flash partition gpt.bin
fastboot flash bootloader bootloader.img
fastboot reboot-bootloader
fastboot flash modem NON-HLOS.bin
fastboot flash fsg fsg.mbn
fastboot erase modemst1
fastboot erase modemst2
fastboot flash bluetooth BTFM.bin
fastboot flash dsp dspso.bin
fastboot flash logo logo.bin
fastboot flash boot boot.img
fastboot flash system system.img_sparsechunk.0
fastboot flash system system.img_sparsechunk.1
fastboot flash system system.img_sparsechunk.2
fastboot flash system system.img_sparsechunk.3
fastboot flash system system.img_sparsechunk.4
fastboot flash system system.img_sparsechunk.5
fastboot flash system system.img_sparsechunk.6
fastboot flash system system.img_sparsechunk.7
fastboot flash system_b system_other.img
fastboot flash oem oem.img
fastboot erase carrier
fastboot erase userdata
fastboot erase ddr
Once the firmware is installed on your device simply reboot it.
That’s it! If you have successfully updated your device on latest firmware please let us know and don’t forget to share this guide with others, Thank You.


